4 Quick start of SDK access
Step1: New Project
Open Unity and create a new project:
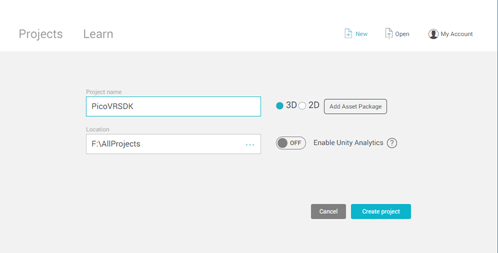
Figure 4.1 New Project
Create cube1, cube2 and cube3, and set their Transform positions to the following:

Figure 4.2 cube1 Transform

Figure 4.3 cube2 Transform

Figure 4.4 cube3 Transform
Step2: Import SDK
Select the menu Assets>Import Package>Custom Package…
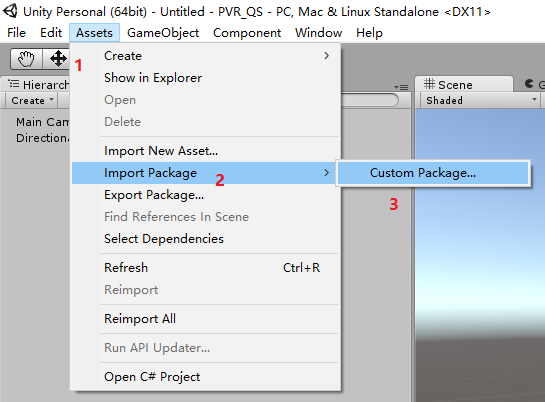
Figure 4.5 Import of Custom Package
Dialog box will pop up, navigate to the appropriate directory and select “PicoVR_Unity_SDK- version number. Unity package” and click to open:
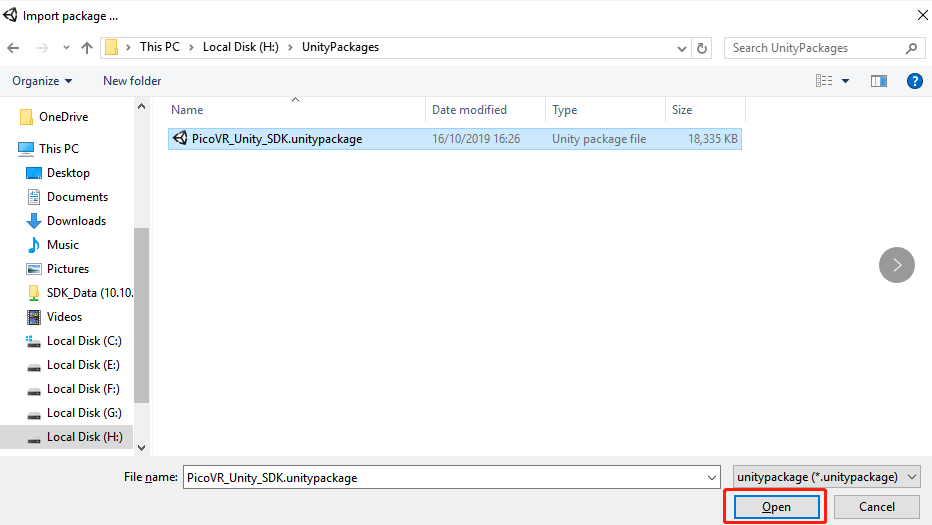
Figure 4.6 Unity Package
After opening, a dialog box will pop up again. Please import the corresponding parts as required:
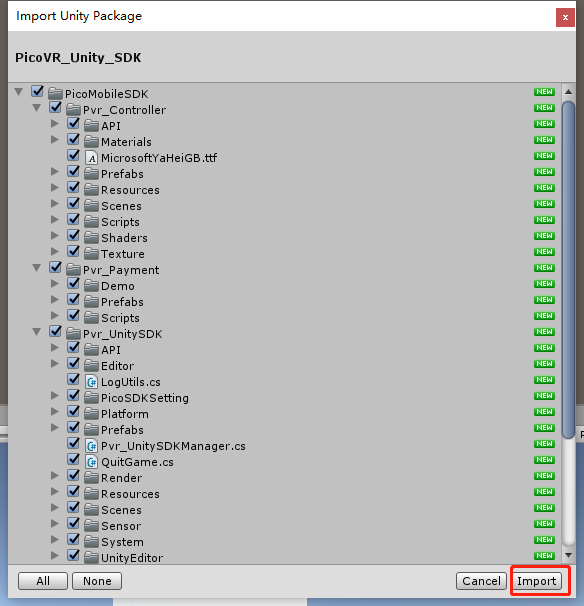
Figure 4.7 Import options
After importing package, SDK will automatically set chapter 3.3 Default Orientation to be “LandscapeLeft” and V Sync Count to be “Don’t Sync”. Ensure boxes for the remaining settings are checked and click “Apply”.
Step3: Use SDK
Enter the Project tab, expand the Assets> PicoMobileSDK >Pvr_UnitySDK>Prefabs, drag the Pvr_UnitySDK parent object into the scene hierarchy, and set the Position and Rotation under the Transform component to (0,0,0):
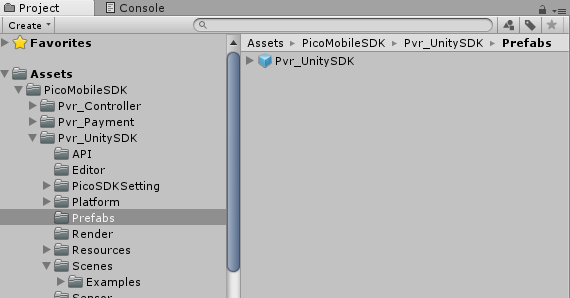
Figure 4.8 Directory of Prefabs under Pvr_UnitySDK
After adding it to the Hierarchy of the scene, the scene hierarchy should appear as shown in figure 4.9:
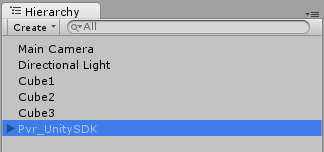
Figure 4.9 Hierarchy of Scenes
Step 4: Simulation run
Click the Run button to see the following in the Game window:
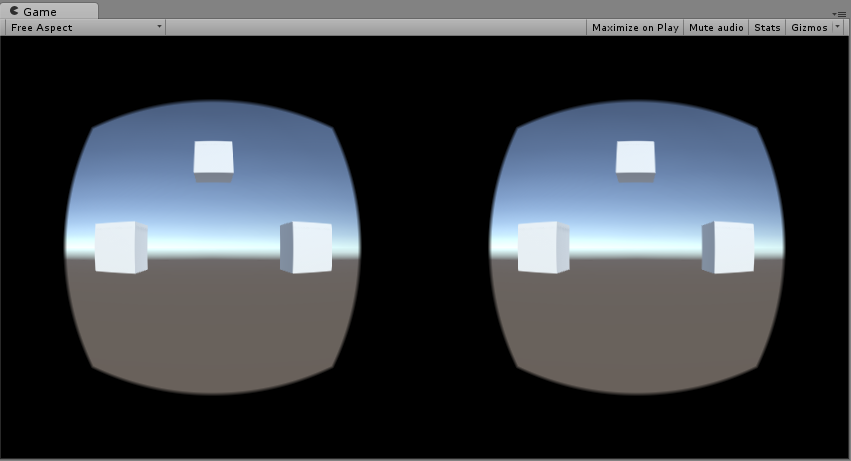
Figure 4.10 Simulation run
Press Alt, move the mouse, and the picture will rotate up and down or left and right; Press Alt+, and click the left mouse button to select VR mode or Mono mode (Unity Editor only).
Step5: Packaging
When packaging, save the current scenes, then enter File>Build Settings, and click “Add Current” to add the current scene to the building list. select “Android” under Platform, then click “Switch Platform” and finally click “Build” to complete the packaging.
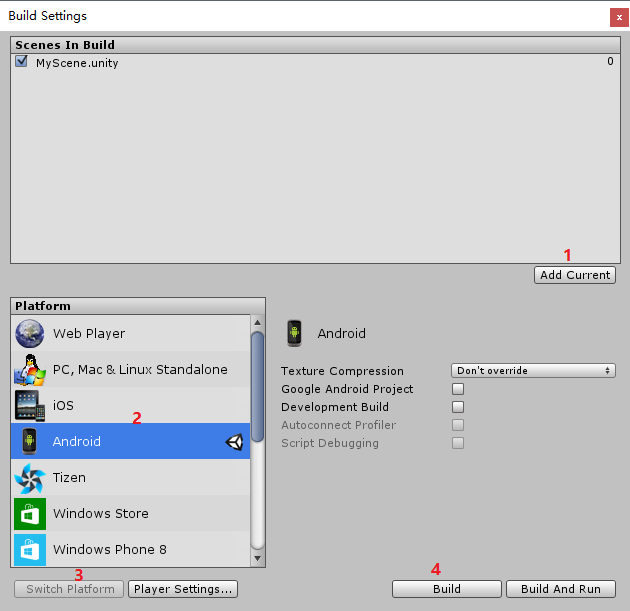
Figure 4.11 Packaging
If Pvr_UnitySDK prefab is not to be used in the application, please follow steps below instead:
1.Add Pico Manager script: Create a new object and add component Pvr_UnitySDKManager. If controller is required then please add Pvr_ControllerManager as well.
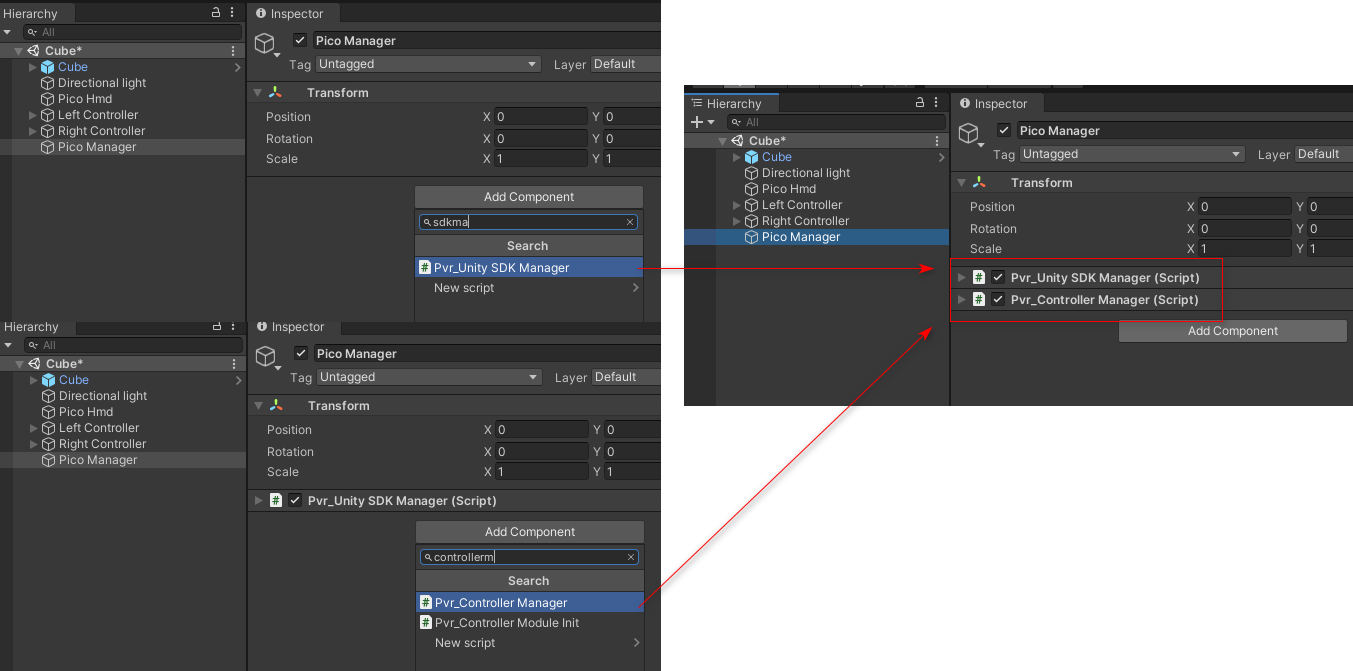
Figure 4.12 Add Pico Manager
2.Use PicoDevice script:Create a new object and add component PicoDevice script. Then select “HMD” as option “Device Type” for headset object, and select “LeftController/RightController” as “Device Type” for coresponding controller object.
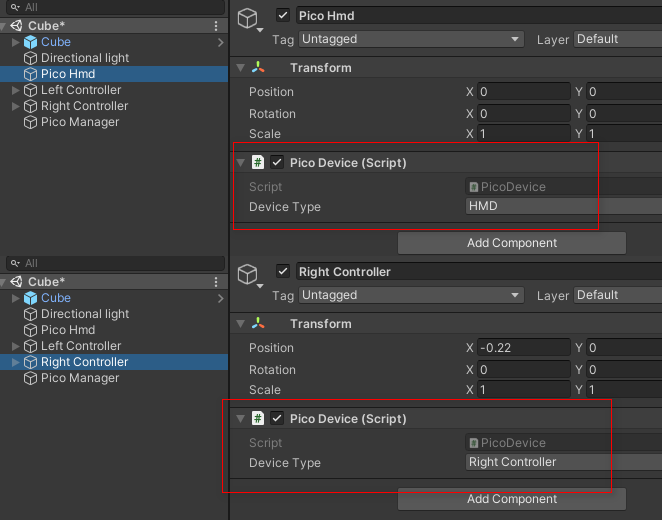
Figure 4.13 Use PicoDevice
3.Package apk files and push onto device for testing.